
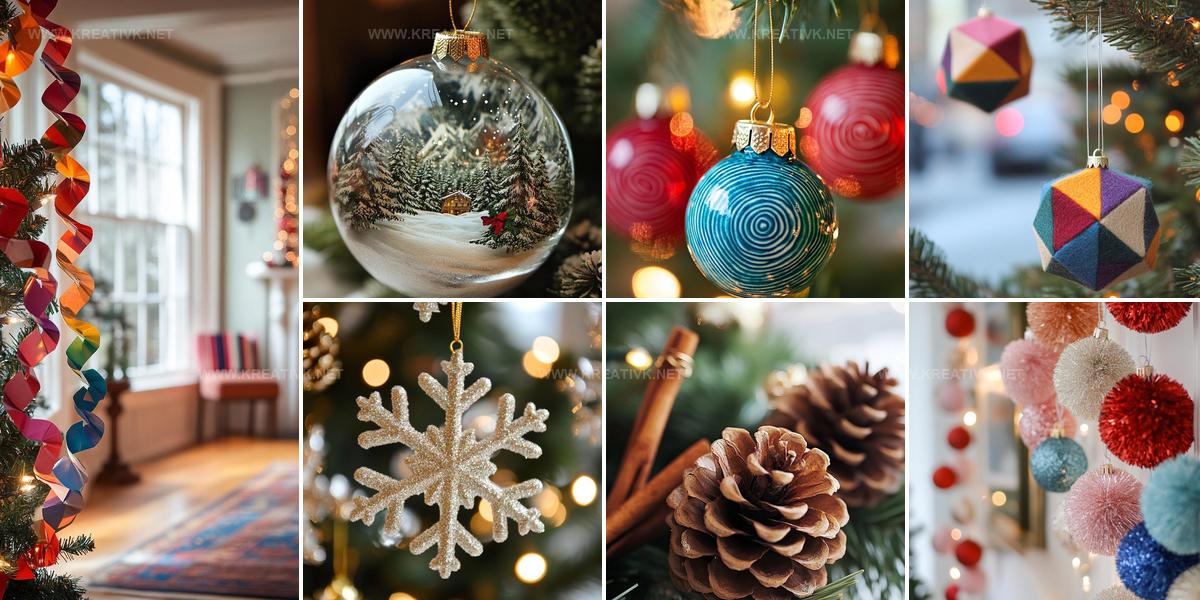
13 Handmade Christmas Decorations Anyone Can Make
Easy DIY Christmas decorations can fill a home with seasonal charm without emptying a wallet or requiring advanced crafting skills.
The holidays often feel like they demand expensive store-bought ornaments and elaborate setups, but handmade touches bring warmth and personality that mass-produced items simply cannot match.
Crafting festive accents at home allows you to express creativity while spending quality time with loved ones, turning an ordinary afternoon into a memorable experience.
Simple materials like paper, fabric scraps, natural elements, and items you already own become the foundation for beautiful seasonal displays that reflect personal style.
Whether you live in a cozy apartment or a spacious house, handmade holiday accents adapt to any space and budget with surprising ease.
The process itself becomes part of the celebration, connecting you to traditions while building new memories along the way.
Let these ideas inspire you to add handcrafted magic to every corner of the season.
Colorful Pom Pom Christmas Garland
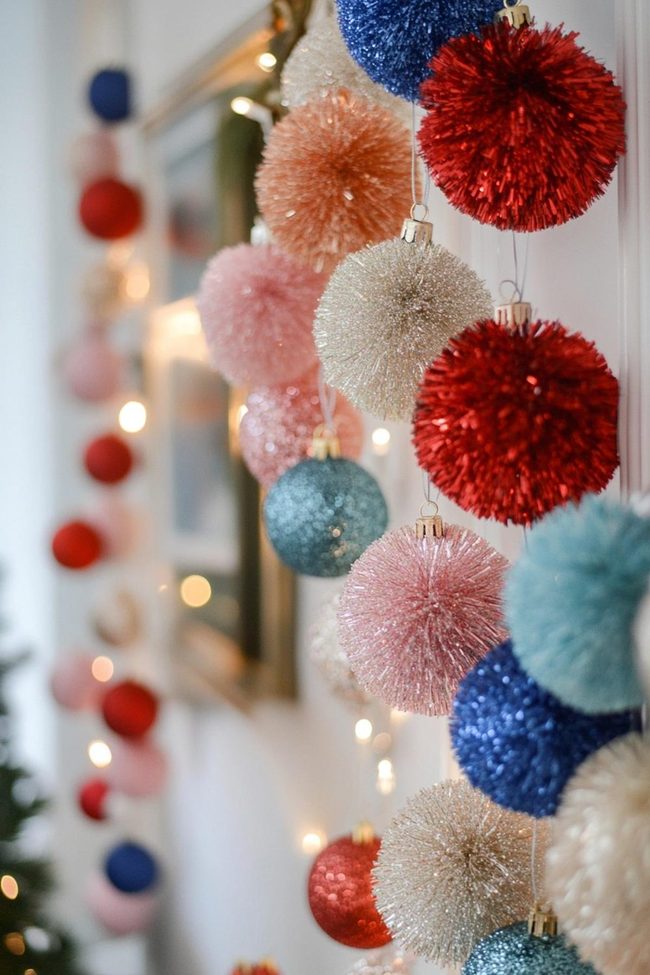
Handmade pom pom garlands bring a burst of color and playful charm to holiday decorating that store-bought options simply can't match.
You can start by gathering yarn or thread in multiple colors, scissors, and a tapestry needle to bring your vision to life.
Making pom poms is straightforward, either use an online tool or wrap yarn around your fingers until you have fluffy balls in varying sizes and shades.
Thread your needle with a long strand and begin sliding the pom poms onto it, knotting the yarn between in all one as you go.
Keep stringing until the garland reaches whatever length works for your space.
Once finished, you can drape these whimsical strands across mantels, weave them around door frames, loop them along railings, or wind them up a Christmas tree for a layered effect.
The best part is that you control everything, so your garland can look exactly how you imagined it.
Sparkling White Snowflake Ornaments
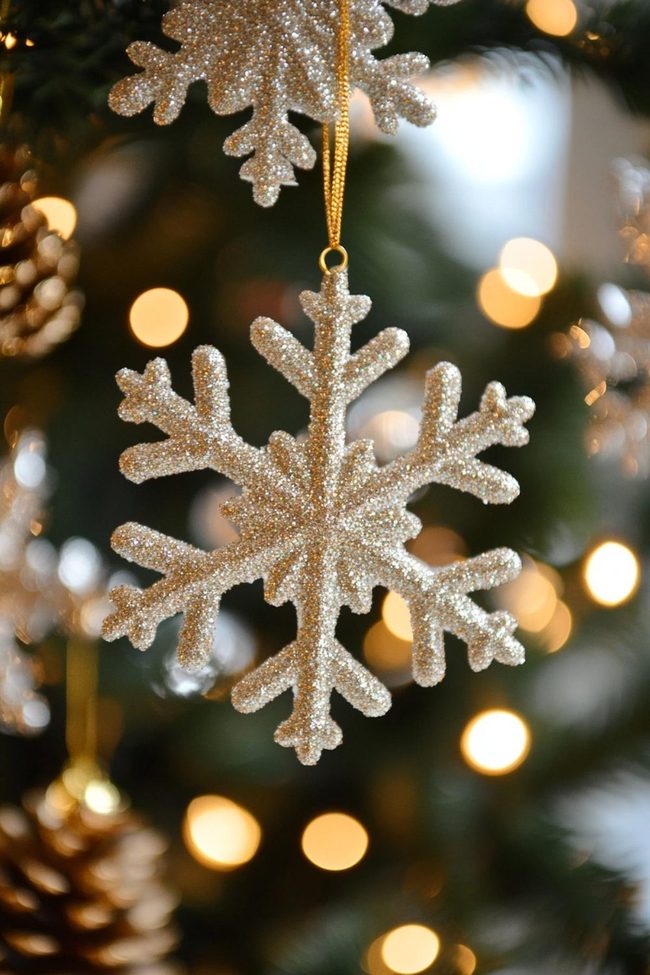
Making glittery snowflake ornaments is one of the easiest DIY projects you can tackle, and you will end up with a whole collection of sparkly pieces for your tree using just three basic supplies.
Start by painting your white craft wood discs, circles, or squares with glittered white, iridescent, silver, or metallic paint and apply two to three coats so the glitter fully covers the surface.
Once everything dries completely, flip every ornament over and attach a ribbon loop to the back for hanging.
If you want to get fancy, you can cut your wood into actual snowflake shapes before painting, but honestly, simple circles and squares look like snowflakes too once they're covered in glitter.
The real beauty of this project is that the glitter paint does most of the heavy lifting for you, so there's hardly any effort involved.
Scatter these shimmering ornaments throughout your tree and they'll catch light from every angle.
Miniature Figurines In Clear Spheres
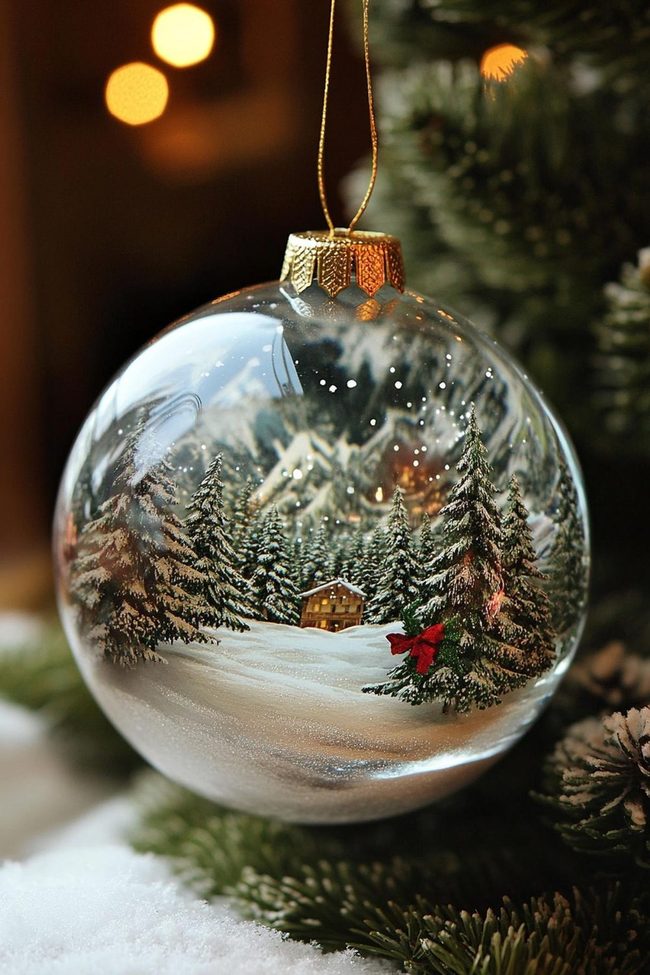
Making snow globe ornaments for your tree is a fun project that brings winter charm right into your home, and you can do it with basic supplies like plastic ornament balls, distilled water, glycerin, fake snow, small figurines, super glue, and ribbon.
Open your ornament balls mindfully by prying them apart, then empty out any water that came with store-bought versions.
Place your chosen figurine inside the ornament and position it exactly where you want it to sit.
Secure the figurine with a few drops of super glue so it stays in place while you add the liquid.
Pour distilled water into the globe and mix in a touch of glycerin to make the water thicker and more realistic.
Sprinkle fake snow on top and seal the ornament closed, then attach a ribbon loop to the top for hanging.
When you shake these ornaments gently, the snow swirls around the figurines and creates that classic snow globe effect that feels nostalgic and whimsical all at once.
Fingerprint Brown Reindeer Canvas
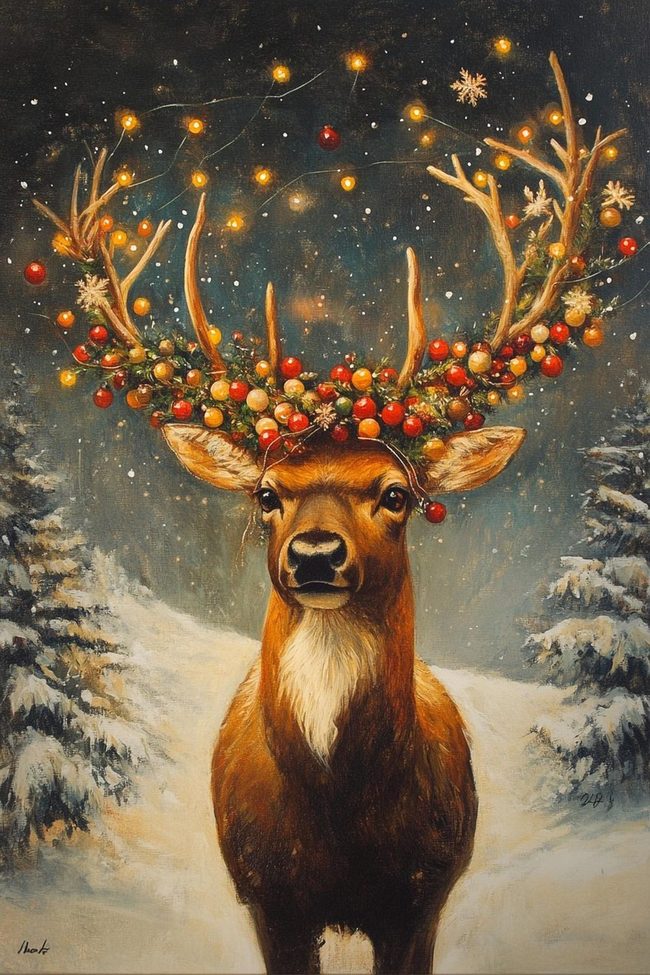
Kids can make their own reindeer artwork using just their hands and feet, and you are able to end up with a keepsake canvas that works beautifully on display year after year.
Start by having them dip their fingertips in brown paint and stamp rows of prints along the bottom of the canvas to form the reindeer head and antlers, rinsing their fingers between every dip.
Once that layer is set, have them press their palm gently into black paint and stamp it in the middle to form the nose, or skip the paint mess entirely and hot glue a red pom pom or button instead.
Those tiny fingerprints naturally give the piece a furry texture that looks wonderfully detailed without much effort.
After everything dries fully, you can help them add painted eyes and a mouth to complete the reindeer face.
All you really need on hand is a canvas panel or stretched canvas, brown and black craft paint, and a few paintbrushes.
Hanging this special handmade piece up keeps the holiday spirit alive throughout the season, and it's something your child will treasure for a long time.
Green Felt Mistletoe Ornaments

Radiant white berries clustered together make these felt mistletoe decorations stand out and catch attention as soon as someone walks through your door.
You can assemble them quickly using green felt scraps, white thread or embroidery floss, craft glue, and ribbon in just a few simple steps.
Start by cutting leaf shapes from green felt and smaller circles from white felt for the berries, then hot glue three leaves together in a fanned pattern and glue the white berry cluster where they meet in the center.
Add a ribbon loop at the top and stitch or glue it firmly so you can hang your finished pieces.
Doorways and entryways become natural spots to display these decorations since people pass through them constantly and will pick up on the festive touch.
Hanging mistletoe around your home spreads holiday spirit and adds a romantic element to your space without requiring much time or expense.
If you prefer, you can stitch the ribbon instead of gluing it for a more secure hold that lasts through the season.
Cream Dough Handmade Christmas Ornaments
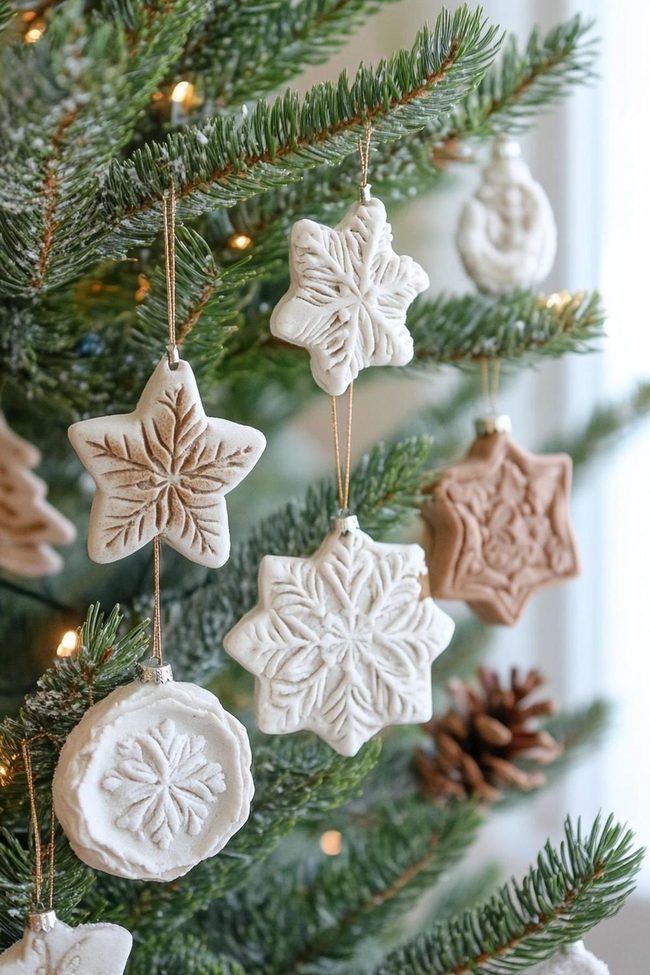
Salt dough ornaments bring that rustic farmhouse charm to life with handcrafted designs you can customize yourself.
Mix together two cups of flour, one cup of salt, and three-quarters cup of water, then knead the mixture until it becomes smooth and workable.
Roll out your dough to about a quarter inch thick and cut it into whatever shapes appeal to you using cookie cutters or a knife.
Using a blunt tool like a chopstick, press patterns into the surface such as dots, stripes, or stars for that homemade artisan quality.
Bake everything at two hundred degrees until the pieces turn hard, which usually takes between one and two hours.
Once cooled, you can leave them plain or paint them with acrylic colors in whatever way matches your style.
Tie a ribbon loop at the top of every piece so you can hang them right on your tree.
Since every one features its own unique imprints, every ornament becomes one of a kind and adds genuine character to your holiday display.
Spiced Dough Holiday Ornaments
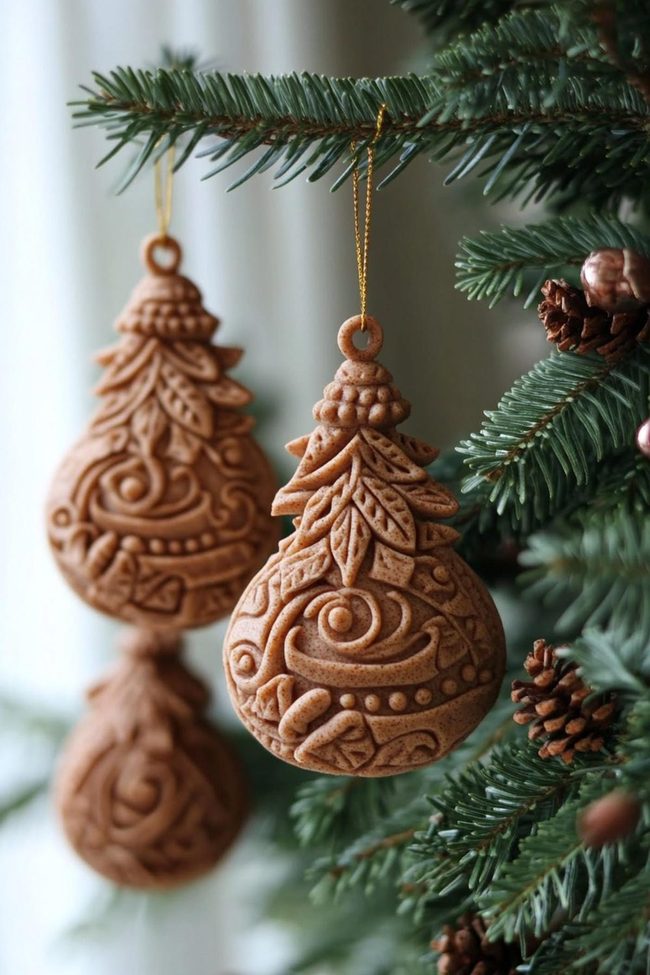
Cinnamon dough ornaments fill your home with a rich, warm spice scent that's hard to resist during the holidays, and they're surprisingly simple to make at home.
Mix together one cup of applesauce, one cup of ground cinnamon, two and a half cups of all-purpose flour, and half a cup of glue in a large bowl until you have a smooth, stiff dough.
Knead the dough lightly on a floured surface, then roll it out to about a quarter inch thick.
Cut out whatever shapes you like using cookie cutters, then bake them at two hundred degrees for an hour and a half until they're completely hardened.
Once they cool down, you can leave them plain to show off that natural cinnamon color, or you can personalize them with paint, glitter, and ribbons if you want something more decorative.
A simple ribbon loop tied to the top turns eachornament into something you can hang right on your tree.
Painted Book Pages Holiday Decor
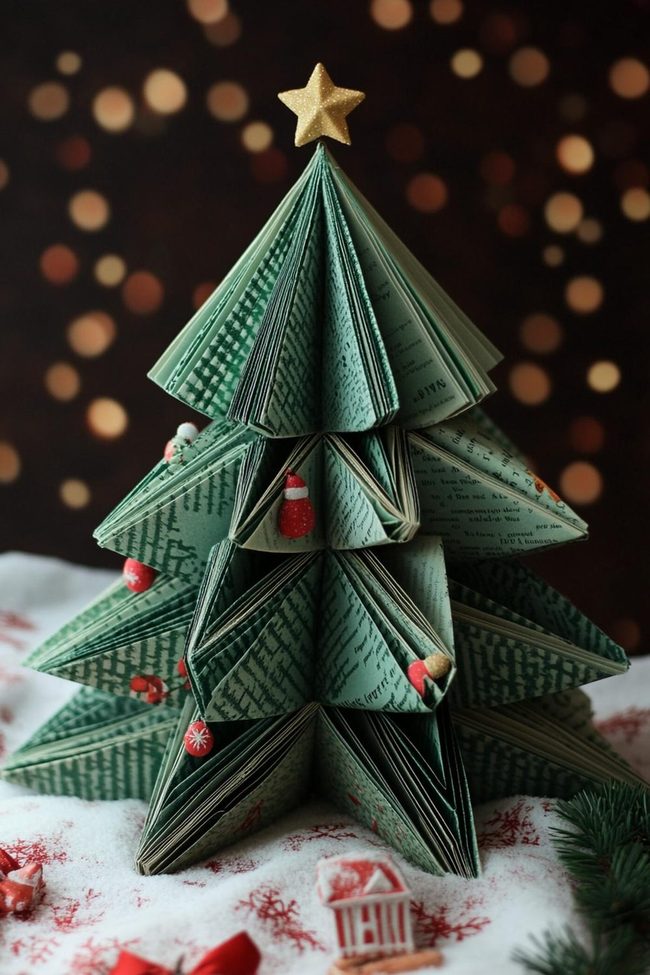
Old books transform into charming Christmas trees that you can display throughout your home, and this project works wonderfully because most people have spare books sitting around already.
Stack your finished trees from largest to smallest, leaning them together to form little tree shapes that look adorable grouped on mantels, side tables, or entryway consoles.
To begin, you could need hardcover books in various sizes, craft paint in holiday colors like red, green, white, and gold, a hot glue gun, and decorations such as pom poms, felt shapes, buttons, and ribbons.
Fan out the pages of across book so they spread evenly, then run a line of hot glue down the spine and press the pages together to seal them.
Trim the top and bottom edges flat, then paint the edges by brushing or spraying on your chosen colors and let everything dry completely.
Once dry, hot glue your decorative pieces onto the front cover and spine however you like, there's room to be creative here.
You can make several of these trees to fill a whole display and shape a book forest that brings holiday cheer to any corner of your home.
Handmade Clay Fingerprint Family Keepsakes

Thumbprint ornaments bring those precious family moments right onto your tree with actual impressions from loved ones you see every holiday season.
Making them is simple and fun, kids enjoy pressing their thumbs into porcelain clay to leave behind marks that become keepsakes.
You can need porcelain clay like Sculpey, acrylic paint, a fine tip paint pen, and ribbon to get started.
Throughout person rolls a marble-sized ball of clay and presses their thumb in gently, then you add their name and the year on the back with the paint pen.
After baking according to the clay instructions and letting everything cool, the real fun begins as you paint eachornament with acrylics in solid colors or playful patterns like polka dots and stripes.
Tie a ribbon loop at the top so they hang perfectly on your tree.
Whenever you look at your decorated branches this season, those little handprints and names will instantly remind you of all the happy times your family spent making memories together.
Golden Pine Cones With Cinnamon
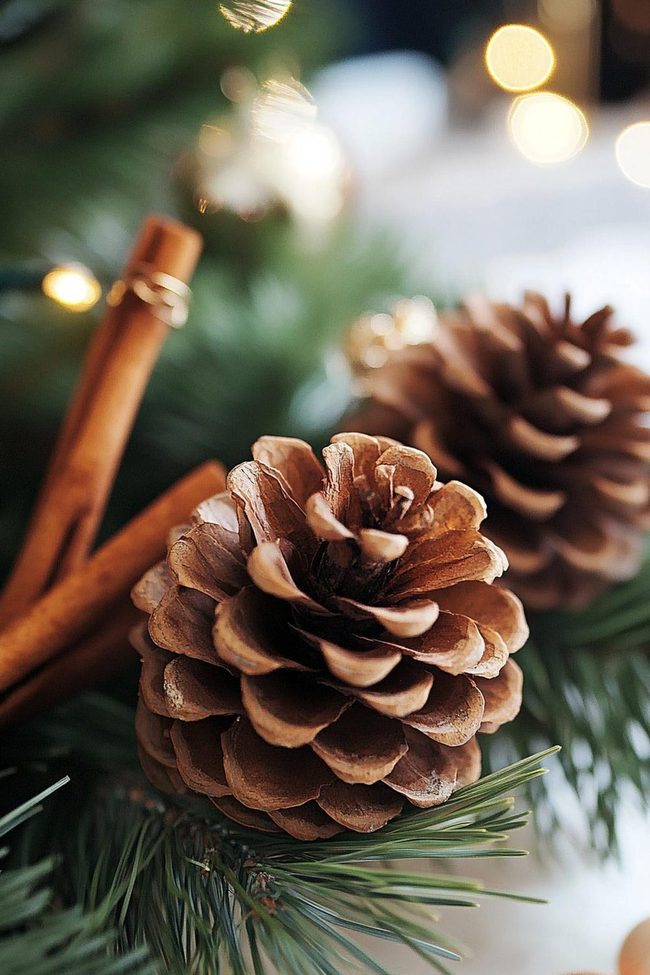
Cinnamon-scented pine cones bring the forest indoors and fill your home with that unmistakable holiday smell everyone loves.
Start by gathering pine cones in different sizes and painting them with craft paint in classic red and green or try metallic gold and silver for something a bit fancier.
Once the paint dries, wrap ribbon around the top of throughout cone so you can hang them easily.
Next comes the best part, brush cinnamon essential oil or sprinkle ground cinnamon powder over the painted pine cones, and your house will smell absolutely wonderful.
You can display these scented decorations by hanging them throughout your home or filling decorative bowls and setting them on side tables and mantles.
Placing them in entryways spreads that warm cinnamon aroma to every corner as people walk through your space.
This simple project costs very little and makes an impact that's hard to beat.
The combination of their rustic appearance and holiday fragrance makes these pine cones a decoration worth making year after year.
Cinnamon And Clove Fabric Pouches

Hang fragrant spice sachets from doorways and trees throughout your home to fill every room with the rich scents of cinnamon, cloves, and orange that define the holiday season.
Making these sachets is straightforward and lets you customize the aromas to match what you love most.
Start by cutting fabric rectangles about five inches wide from festive prints and scraps you have on hand.
Mix together your favorite holiday spices like cinnamon sticks, whole cloves, allspice berries, nutmeg, and ginger, then add a dried orange slice or a few drops of orange essential oil to boost the fragrance.
Place your spice blend in the center of eachfabric piece and sew the edges shut with a whip stitch, leaving the top open so you can thread ribbon through later.
Once you tie the ribbon closed at the top, you have a finished sachet ready to use.
Beyond hanging them on trees and door frames, you can drop them into bowls around your living spaces or bundle them onto gifts for people and family.
These handmade sachets cost very little to make and deliver that warm, spiced aroma throughout your home that everyone associates with the holidays.
Colorful Paper Loop Chains

Paper chain garlands bring instant color and movement to your home with their bold, festive patterns that work especially well draped across fireplace mantles, around door frames, and down stair railings.
Making them is straightforward and fun for both kids and adults, just cut colored paper into strips about three to four inches long, loop eachstrip into a circle, and interlock the circles to build long chains that you can arrange throughout your space.
Staple or tape eachconnection point so your chains stay secure, and mix different paper colors as you go to set up the most eye-catching effects.
Once you have chains of varying lengths ready, drape them anywhere you want a quick decorative boost, from above kitchen cabinets to around table centerpieces or wrapped around Christmas trees.
This old-fashioned craft needs just scissors, colored paper, and either tape or a stapler, making it easy to gather supplies from what you likely have at home.
Starting this as a new holiday tradition means you and your family can spend time together assembling these cheerful decorations.
The beauty of paper chains is how simple they are to make, yet they transform any room with their playful charm and festive energy.
Colorful Felt Geometric Ornaments
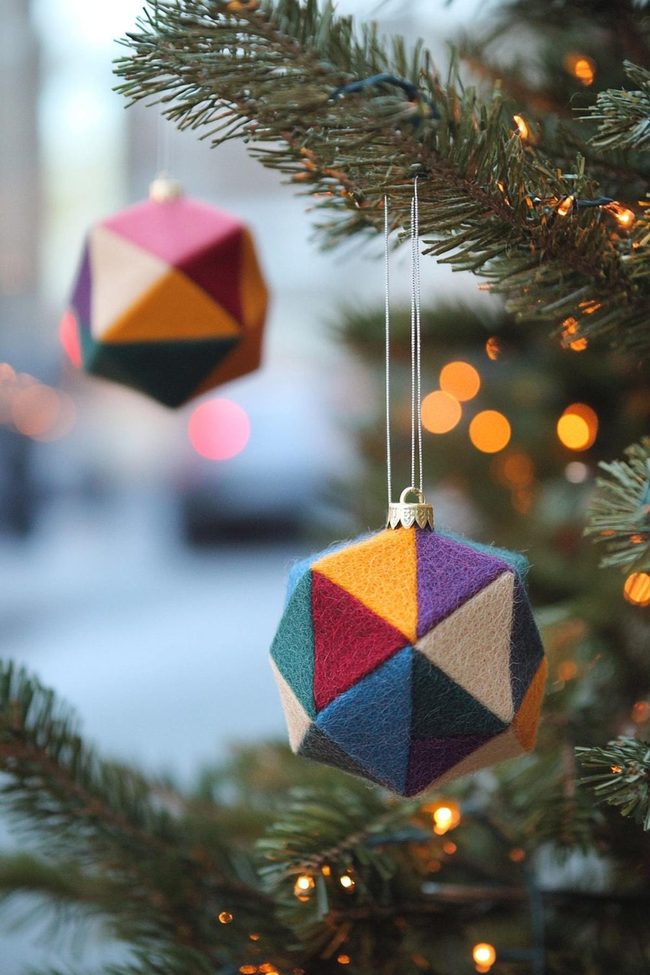
Felt geometric ornaments bring bold, modern shapes to your Christmas tree in ways that feel fresh and contemporary, and they work beautifully with Scandinavian design styles.
What makes them so appealing is that you don't need any sewing ability, and odds are you have all the materials sitting around your home already.
Grab some felt sheets in colors you love, scissors, a hot glue gun, and string or ribbon for hanging.
Cut out circles, triangles, squares, or any geometric form that speaks to you, making two or three matching pieces for every ornament.
Line the edges of one shape with hot glue, press your second shape on top, and hold it steady for a few seconds until the pieces bond together.
Once your ornament is assembled, attach a hanging loop at the top using string, ribbon, or embroidery floss.
If you want to go further, stitch simple designs like stars or lines across the surface with embroidery floss for extra personality.
Play around with color combinations, you can go bold and sunlit, pair metallic tones with white, or choose whatever palette matches your style.
These handmade pieces add genuine personality to your tree and show off the choices you made.
Liam Caldwell
Lead Designer & Innovation Strategist
Expertise
User-Centered Design, Creative Problem Solving, Modern Aesthetic Integration, Technology-Driven Design Solutions, Adaptive Space Planning, Trend Analysis, Sustainable Design Solutions
Education
New York School of Interior Design
Liam Caldwell brings fresh ideas to kreativk.net by turning everyday spaces into unique, inviting areas.
Living in Philadelphia and trained at the New York School of Interior Design, he mixes basic design skills with modern technology to make rooms both stylish and useful. Liam is passionate about sustainable design and always finds creative ways to improve the spaces where we live.